How to sterilization of poultry houses and barns?
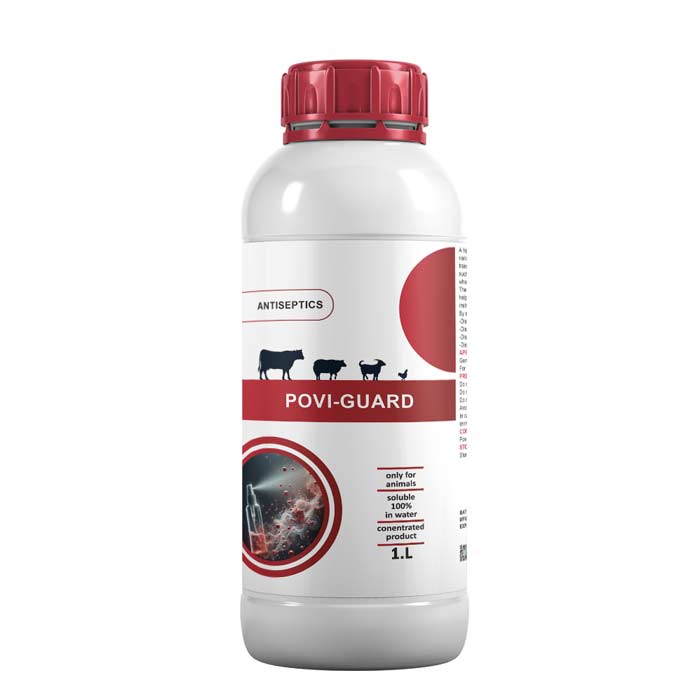
Sterilization of poultry houses and barns is a critical part of poultry farm management to ensure the health and safety of the birds by reducing the risk of diseases, parasites, and pathogens. Here is a step-by-step guide for sterilizing poultry houses and barns:
1. Preparation
- Remove all birds and equipment: Before you begin cleaning and sterilizing, remove all chickens, turkeys, or other poultry from the barn. Also, take out any feed, waterers, and other equipment.
- Clean and disassemble: Clean and remove any debris, manure, bedding, dust, and cobwebs from all surfaces. This includes floors, walls, ceilings, and vents. If any equipment like feeders or waterers can be taken apart, do so to ensure thorough cleaning.

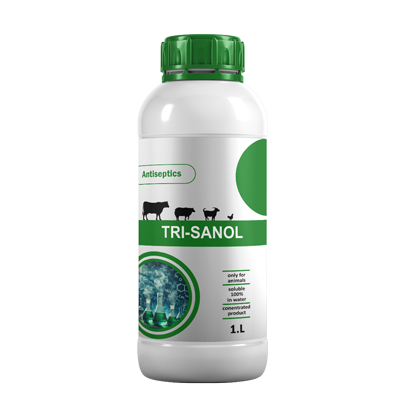
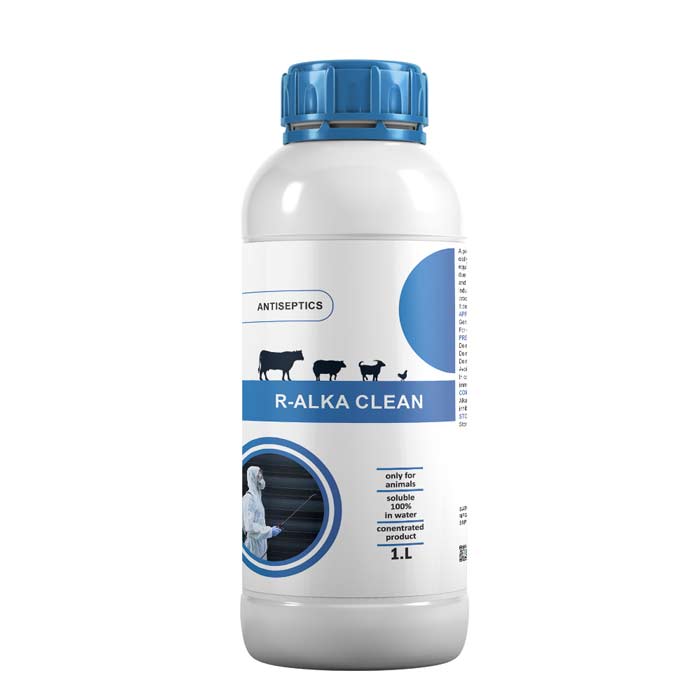
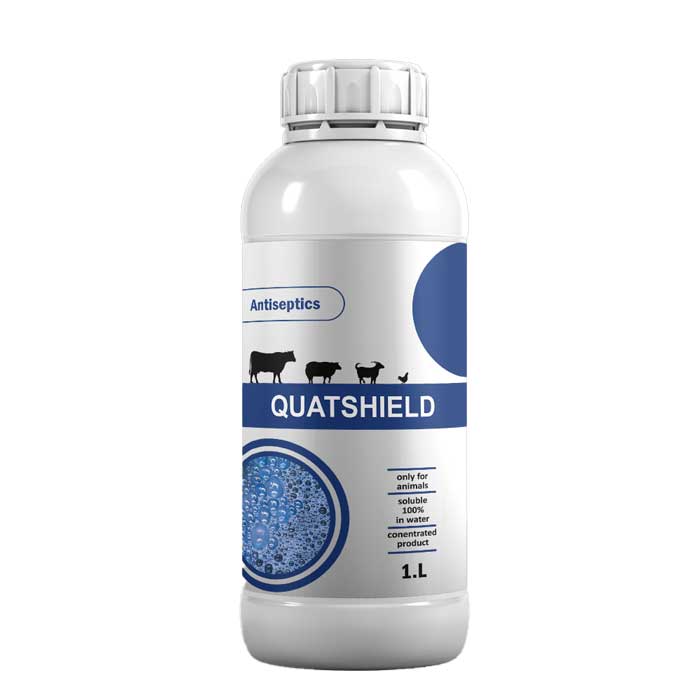
2. Cleaning the Barn or House
- Dry cleaning: Start with dry cleaning, removing the bulk of litter, manure, and debris. Use shovels, brooms, or a manure vacuum to clear the area.
- Wet cleaning: After dry cleaning, wash all surfaces with water to remove remaining dirt and grime. Use a pressure washer for walls, ceilings, and floors for a more thorough clean.
- Scrub surfaces: Use brushes and scrubbing pads to clean surfaces that are hard to reach with the pressure washer.
3. Disinfecting
After cleaning, proceed with disinfecting all surfaces and areas that may have come into contact with poultry or poultry waste. There are several methods of disinfecting:
a. Chemical Disinfection
- Choose an appropriate disinfectant: Select a disinfectant that is effective against poultry pathogens like Salmonella, E. coli, and avian influenza. Some common poultry disinfectants include:
- Quaternary ammonium compounds
- Chlorine-based disinfectants
- Phenolic disinfectants
- Iodine-based disinfectants
- Hydrogen peroxide-based disinfectants
- Dilute as necessary: Follow the manufacturer’s instructions on dilution to ensure the disinfectant is effective.
- Apply disinfectant: Use a sprayer, fogger, or mop to apply the disinfectant evenly over all surfaces, including floors, walls, ceilings, vents, and any equipment that will be reused.
- Allow contact time: Most disinfectants require a specific contact time to be effective. This is typically between 10 and 15 minutes, but you should always follow the instructions on the product.
- Rinse if necessary: Some disinfectants may need to be rinsed off after the specified contact time, while others are designed to dry on the surface. Be sure to follow the instructions.
b. Natural Disinfection Methods
- Vinegar and Baking Soda: You can create a natural cleaner using a mixture of white vinegar and baking soda. This is less effective for heavy disinfection but can help reduce minor pathogens and odors.
- Steam Cleaning: High-temperature steam can kill many bacteria, viruses, and fungi. It’s a chemical-free method, though it requires specialized equipment.
4. Disinfecting Equipment
- Clean and disinfect all reusable equipment such as feeders, drinkers, nests, and egg trays. Disassemble them where possible and scrub them clean before applying the disinfectant.
- Pay special attention to areas that are difficult to access, like under waterers or inside feeders, where bacteria can accumulate.
5. Ventilation
- Ventilate the area: Once the disinfectant has had adequate contact time, open all doors and windows to allow fresh air to circulate and dry out the surfaces.
- Use fans: If the weather permits, you can use fans to help speed up the drying process and promote air circulation.
6. Check for Cleanliness
- After everything has dried, inspect the poultry house thoroughly to ensure that no visible dirt, debris, or disinfectant residue remains. Use a blacklight to inspect areas that are harder to see to confirm that all surfaces have been disinfected.
7. Reintroduce Birds
- After all disinfectant has dried and the area is properly ventilated, the poultry house is ready to be restocked with birds.
- Refill the feeders, waterers, and nests and ensure everything is functional before reintroducing the flock.
8. Regular Sterilization Schedule
- Routine cleaning: Sterilizing a poultry barn should not be a one-time event. A regular cleaning and sterilization schedule should be followed. The frequency depends on the size of the barn, number of birds, and specific health risks, but generally, poultry houses should be cleaned and disinfected at least every 6 to 12 months.
9. Additional Considerations
- Pest control: Use traps or insecticides to keep pests such as rodents, flies, and mites under control. Pests can spread diseases and hinder your sterilization efforts.
- Maintain good biosecurity: Ensure that workers, visitors, and even vehicles follow proper biosecurity protocols to prevent cross-contamination between barns.
Tips:
- Always wear protective gear (gloves, masks, and goggles) when handling chemicals or disinfectants.
- Keep a record of the cleaning and sterilization process, including dates, products used, and any observations to track the effectiveness.
- Consider using a fogger for applying disinfectant in hard-to-reach areas or for large barns, which ensures an even application.
Proper sterilization helps maintain the health of your flock, improves productivity, and minimizes the risk of disease outbreaks on your farm.
